I built a vent door for the low tunnel today!
The door frame was made from 4 2"x4" scraps and a 1/2" PVC pipe from Home Depot. The door was made from 4 warped deck railing balusters and metal hardware to hold it together. It was all inspired by
my friend Brit's design. The door opens using a
auto-vent opener. The
auto-vent opener has a compressed gas cylinder that expands and opens the door when the temperature reaches a certain point. Everything is covered in plastic dropcloth.
MATERIALS
Total cost of the project was about $100. The biggest expenses are the auto-vent opener and the plastic film.
- Two eight foot 2x4s (using treated lumber could create some concern about arsenic)
- One eight foot 1x1 (square deck balusters work well for this)
- 4 L brackets
- 2 hinges
- 1 autovent opener
- plastic film (greenhouse film is more resistant to the degrading effects of UV light)
INSTRUCTIONS
 |
| 1. Measure the base: I measured the width of my garden plot, making sure that a 1/2" PVC pipe bent into an arch could span the width of my garden. I think I used a standard length of pipe (about 8 feet). The pipe, when bent into an arch. I cut a 2x4 about 3" longer than the span that I measured, then drilled two very slightly sloping (near vertical) holes 1" diameter holes through each end of the 2x4. |
 |
| 2. Make the base for the frame: The holes slope in the direction of the end that they are closest to, which will accommodate for the arch in the PVC. I put each end of the PVC through the holes I drilled in the 2x4, leaving about 6" of each end of the pipe extending below the board. |
 |
| 3. Make the top support of the frame: Place another 2x4 about two thirds of the way up the PVC arch (on top of it) to measure the length of board that you need. You will need to drill two, 1-inch holes at 45 degree angles, to accommodate the PVC, so measure the length of the board a few inches greater than the width of the arch. It helps to start drilling the holes vertically, then adjusting the bit to roughly a 45 degree angle with the top face of the board. Once the holes are drilled, run the PVC through both sets of holes in the board. |
 |
| 4. Finish the door frame: Measure the distance between the top board and bottom board and cut two 2x4s to that measured length. These will be the vertical parts of the frame for the door. Screw and glue the parts together. |
 |
| 5. Build the door: Use hardware to create a squared door that will properly fit into the frame. Attach the door to the frame with hinges. Staple greenhouse plastic over the door and around the edges of the frame, making sure you do not restrict movement of the door with the plastic. |
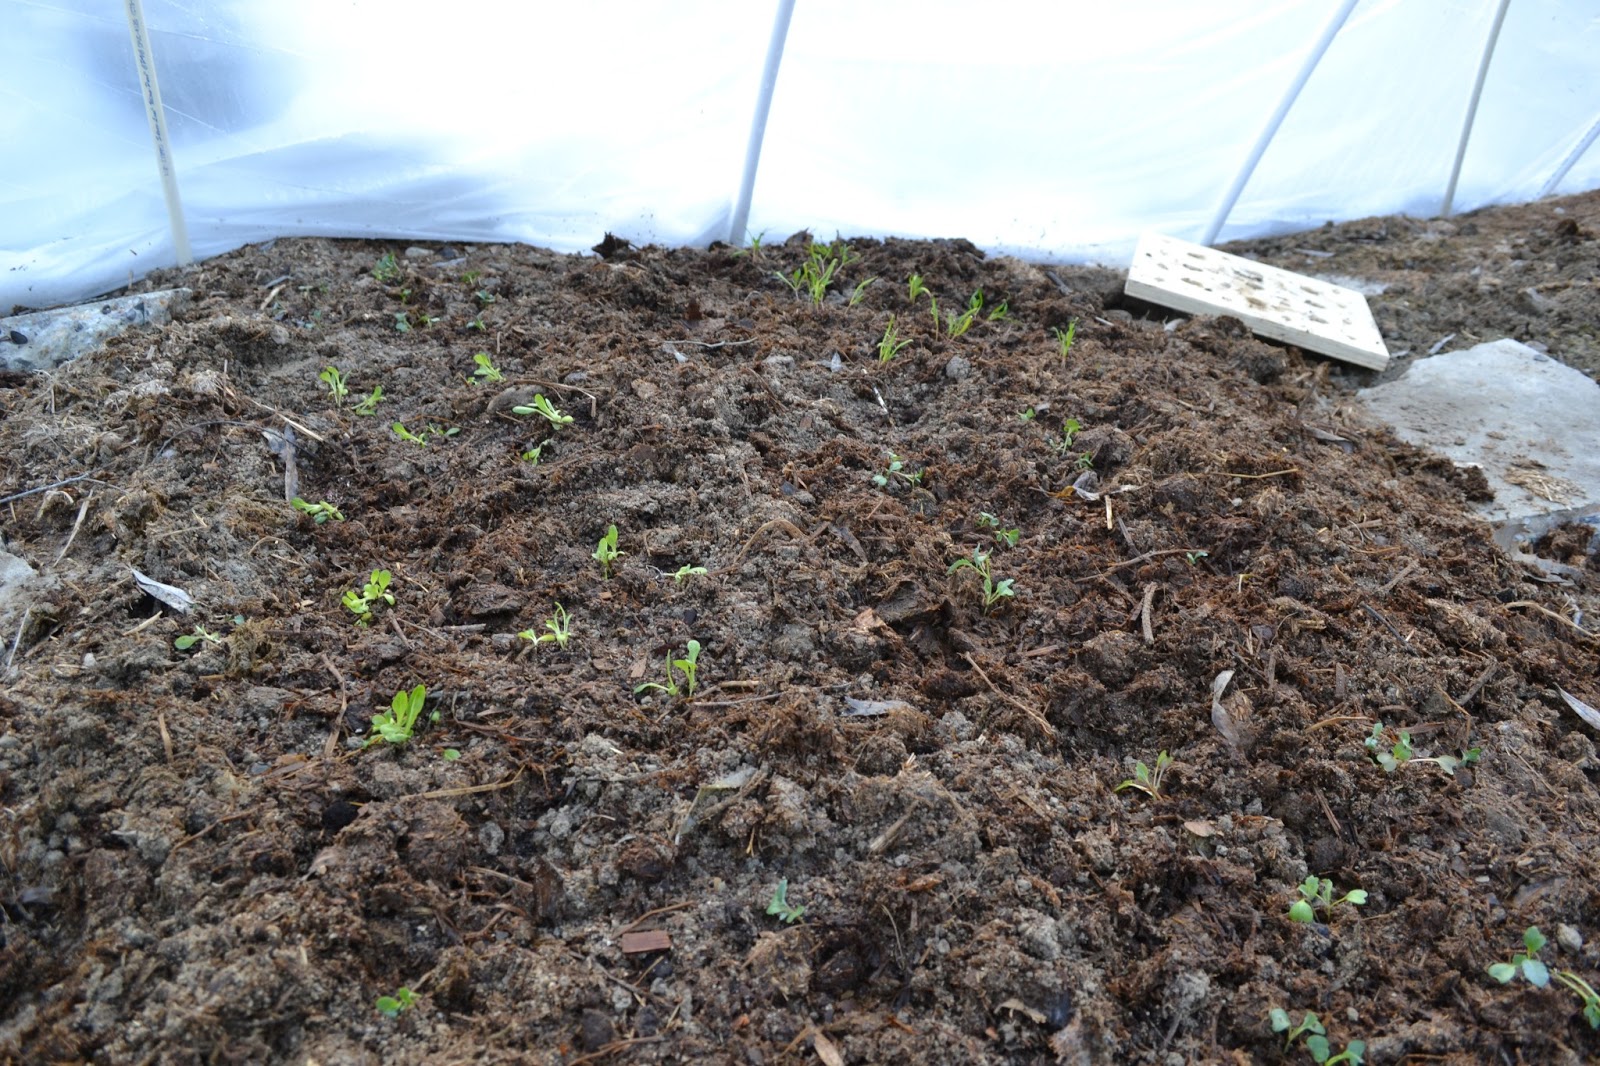 |
| View of the inside of the low tunnel. I transplanted the kale, spinach, and lettuce on 2/17/2013. They are planted in a square-foot-garden configuration. |
 |
| Spinach, kale, and lettuce seedlings growing in the low tunnel. There is snow on the outside of the plastic. |
ADDITIONAL INFORMATION


I'm a little confused about how you access the inside. Do you just open the door and squirt water in with a spray hose when the plants need water? How do you thin the plants?
ReplyDeleteThe plastic sheeting on the sides of the tunnel is only secured with a couple of bricks. You just remove the bricks and roll back the plastic on the side. To irrigate, I ran a hose with a timed sprinkler under the plastic.
DeleteThis comment has been removed by the author.
ReplyDelete